How to install non-infill football artificial turf step by step?
Soccer grass fields installation guidance with useful tips in football turf installing
Non-infill environmentally friendly football grass is a high-end product among artificial grass product ranges. Here shows how to install non-infill football artificial turf step by step and share the tips on soccer grass installation procedures.
It is highly praised by users because it does not need to be filled with rubber granules, is healthy, environmentally friendly, and convenient for construction.
Install non-infill football turf with our hot product items.
However, during construction, if you do not pay attention to the particularity of its products, it is inevitable that some unnecessary problems will occur due to improper construction, which will affect the quality of the project.
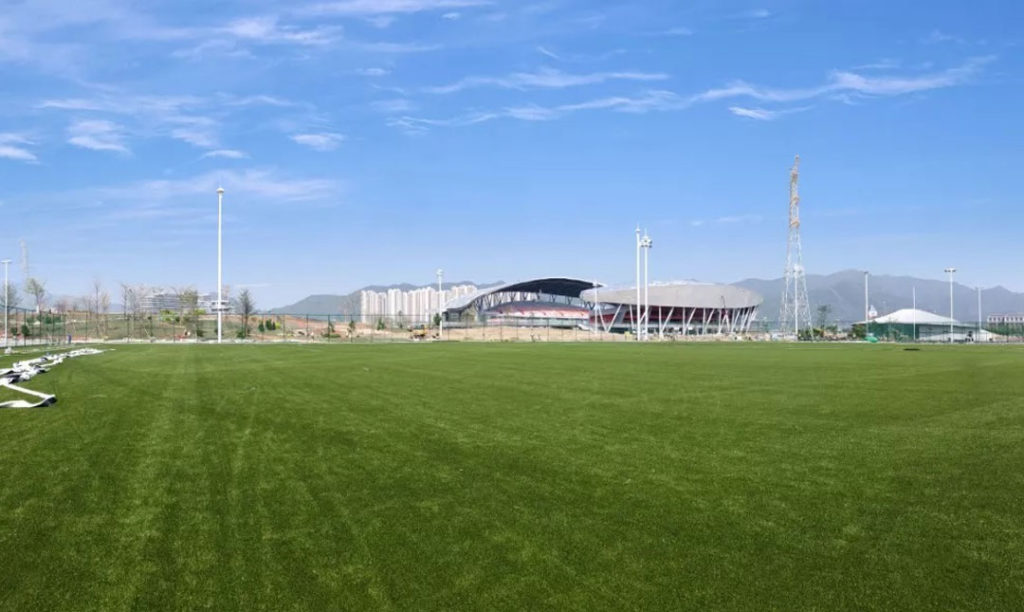
The football field in the following project case is installed with high-end non-infill artificial grass products, and the construction has been completed. The following will introduce in detail the construction process and skills of the football field made with non-filling football grass.
The similarities between the construction of installing non-infill football turf environmentally friendly football grass and ordinary artificial grass are mainly reflected in the three processes:
- shock pad laying,
- turf carpet laying,
- carpet seaming.
1. Leveling the sub-base of the football field
Use professional equipment to level the foundation; clean up the debris on the site after completion to ensure a clean construction environment;
Check whether the flatness and cleanliness of the foundation work to meet the construction standards or are approved by Party A;
Check whether the site size and drainage slope are consistent with the design drawings.

2. Materials Preparations for construction
Use professional equipment to unload artificial turf rolls. If not used immediately, place the turf rolls in a cool and dry place, and check whether the turf rolls are damaged or deformed due to improper loading, unloading, or transportation operations.
After confirming that the grass rolls are in good condition, place the grass rolls neatly in the corresponding position on the field according to the drawings.

3. Positioning and Outlines
Use the center of the football field and the center of the two semicircles as the basic points to measure and set the lines. Then determine the location of the centerline, sideline, and each function point and line of the site. Finally, ensure that the position of each point is accurate and the function line is marked straight and clear.

4. Paving shock pad layer
Pave the XPE shock pad layers in sequence according to the position of the drawing. Then use self-adhesive tape to joint each shock pad layer together.
After paving one roll of shock pad, pave the corresponding turf carpet and then do the next group paving. In this way, it is helpful to make leveling of the lawn.

5. Paving the football grass
When paving, the football turf must be stretched, and if necessary, tension is applied at both ends to ensure that the sideline is not bent and the grass surface has no arching folds.
Two side-by-side grass rolls need to be overlapped 3-8mm, with the grass blades pointing in the same direction.

6. Cutting the football grass
Use turf cutters to cut off the surplus backing cloth evenly on the turf at the overlapping position. The grass blades should not be cut, and the seam gap should not be wider than 3mm.


7. Seaming Football Turf
The seaming work includes the seaming between different turf rolls and the function line seaming.
Before seaming, keep it clean and dry on the bottom surface of the turf, with non-woven fabric, and seaming tape.
The seaming work should not be carried out on rainy days.


8. Coating glue on joint tape
Flip up the bottom of the football grass at the joint side, and turn up the grass on each side with a width of about 50 cm.
Then unroll a 25 cm wide seaming tape along the center of the seaming line.
Use a brush to coat the glue on the tape with at least 20cm width coating.
In case you have a Gluing Coater, just load the tape and pour glue into the glue container and adjust the coating width by 20cm.


After the glue coating is completed, the seaming work should be carried out immediately. When seaming, it is required to align and stick firmly at one time. Do not move the football grass carpet after bonding, so as to ensure the bonding firmly.
The operation of glue coating to the bonding work should be completed within 15 minutes or follow the instructions shown on glue packing.
After seaming, remove the surface debris, and use a roller to compact the seaming lines.
When there is no roller, you can also use your feet to step on it gently, so that the surface can be tightly contacted and the bonding can be firmer. After compaction, the bricks are pressed horizontally along the joints in the middle of the joints, and the distance between each brick is about 1-1.5cm.
The bricks are not allowed to be removed or moved before the glue is cured. The curing time of the glue depends on the local weather conditions. In dry weather, the curing can be completed in 2-4 hours when the temperature is high, and the curing time may be slightly extended if the weather is humid and the temperature is low.

9. Inlay of the function lines
The inlay work of the function line should be carried out after the turf is fixed around to ensure that the turf is flat and spread completely.
Find the reserved mark line position on the football turf. Before cutting, press on both sides of the marked line to be cut to prevent shrinkage of the turf. Then use a cutter or knife to cut the lines along the drawing indicated.
Cut the rolled white turf or yellow turf into a strip of the corresponding width, put it into the reserved mark line position, and then use a 30cm joint tape to bond it with the turf on both sides, coating glue on the joint tape. Then do the same seaming work like turf carpet seaming to the previous step.

10. Recheck lines and spots
Review the installation point line;
Completely check again whether all bonding positions are tightly bonded;
Remove the residues in the site and clean up as a whole.
After completion, carry out site clearance work, clean up residual materials, and clean the construction site as a whole;
The site construction party, manufacturer representatives, and testing units jointly accept the completed project and provide the owner with basic training on daily maintenance and maintenance of the artificial turf field.


Tips in seaming and bonding:
- When installing non-filled football artificial turf, the surrounding edges of the whole turf must be fixed on the ground to prevent the turf from shrinking, wrinkling, or cracking. The fixing work is carried out after the turf is bonded. The fixing method is basically the same as the above method. , But at this time, the turf needs to be glued to the elastic cushion instead of the connecting belt;
- It is most suitable to perform the bonding work 10-15 minutes after the surface treatment agent is painted. At this time, the surface treatment agent is in a dry state, and it feels sticky to the touch;
- From the completion of the glue mix to the completion of the bonding, work should be completed within 15 minutes, so as not to affect the bonding effect.
